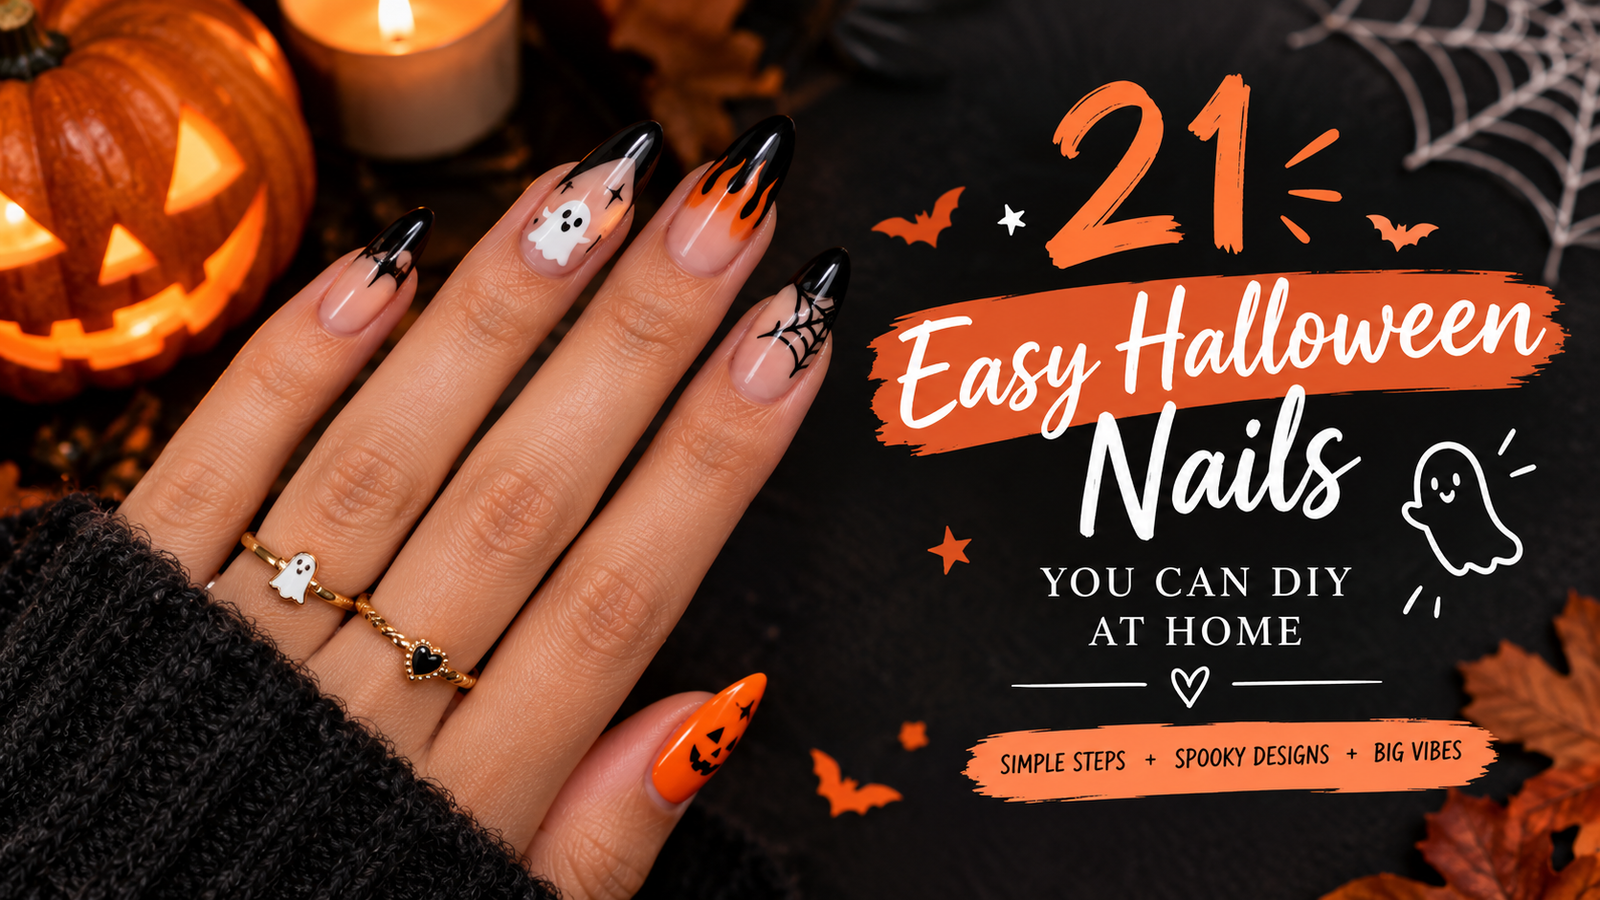
21 Easy Halloween Nails You Can DIY at Home
You don’t need a $70 salon appointment to get Halloween nails that still look bridal not costume-y. If you’re engaged this fall, this is your sign to grab a bottle of black polish and get a little spooky.
I’ve been doing my own nails for years, and October is genuinely my favorite month to experiment. There’s something about pairing dainty bridal elegance with a little Halloween edge that just works. Let’s get into it.
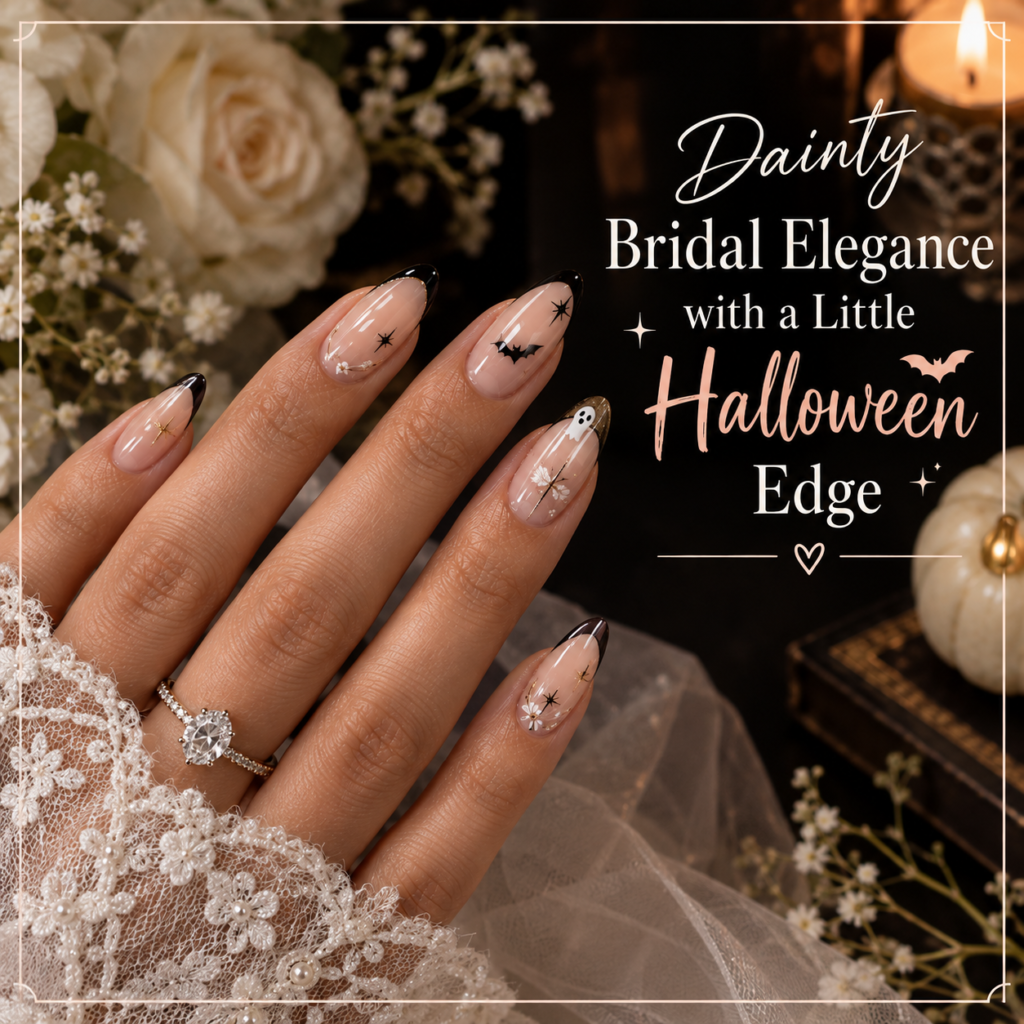
Table of Contents
- Why Halloween Nails Are Having a Moment for Fall Brides
- Your DIY Halloween Nail Kit
- 21 Easy Halloween Nails to Try
- Step-by-Step DIY Application
- Matching Nails to Your Bridal Calendar
- Mistakes to Avoid
- FAQs
Why Halloween Nails Are Having a Moment for Fall Brides
Fall engagement season is huge. So is spooky season. It was only a matter of time before they collided.
The trick is keeping it elegant, not literal. Think moody jewel tones and subtle cobwebs — not glow-in-the-dark plastic spiders.
Your DIY Halloween Nail Kit
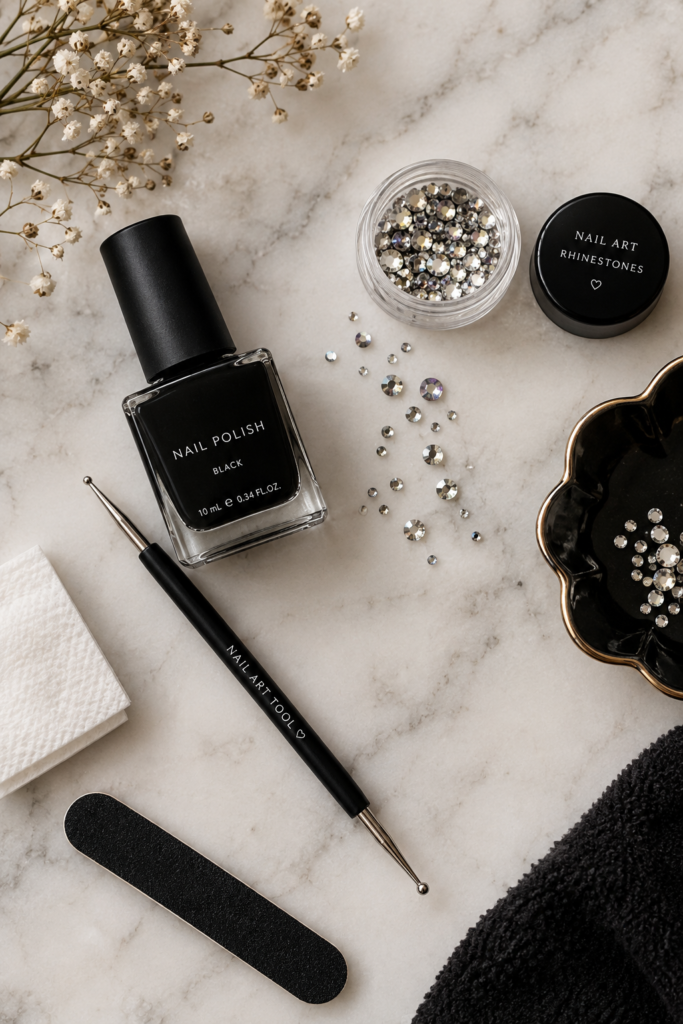
You don’t need a professional cart. Here’s what actually matters:
| Category | What You Need | Why It Matters |
|---|---|---|
| Base | Base coat, top coat | Prevents staining & chipping |
| Color | Black, burgundy, deep orange, nude | Bridal-Halloween palette |
| Tools | Dotting tool, thin nail art brush, striping tape | Precision without a pro’s steady hand |
| Extras | Rhinestones, cobweb decals | Instant “wow” factor |
Key takeaway: A gel-hybrid or “gel-like” polish formula will get you salon-level shine without UV lamp commitment.
Skip anything neon or glittery-chunky. It reads more “party store” than “bride-to-be.”
October brides have it easy — this season’s moody wedding palettes are basically Halloween nails already. Burgundy, plum, and warm browns are all over 2026 fall wedding color trends, so a spooky-chic mani doubles as on-theme bridal beauty.
21 Easy Halloween Nails to DIY at Home
Here’s where the fun starts. I’ve grouped these by vibe so you can pick what matches your personality.
Elegant & Minimal Spooky Designs
- Nude with a single black spider accent nail — barely-there, chic
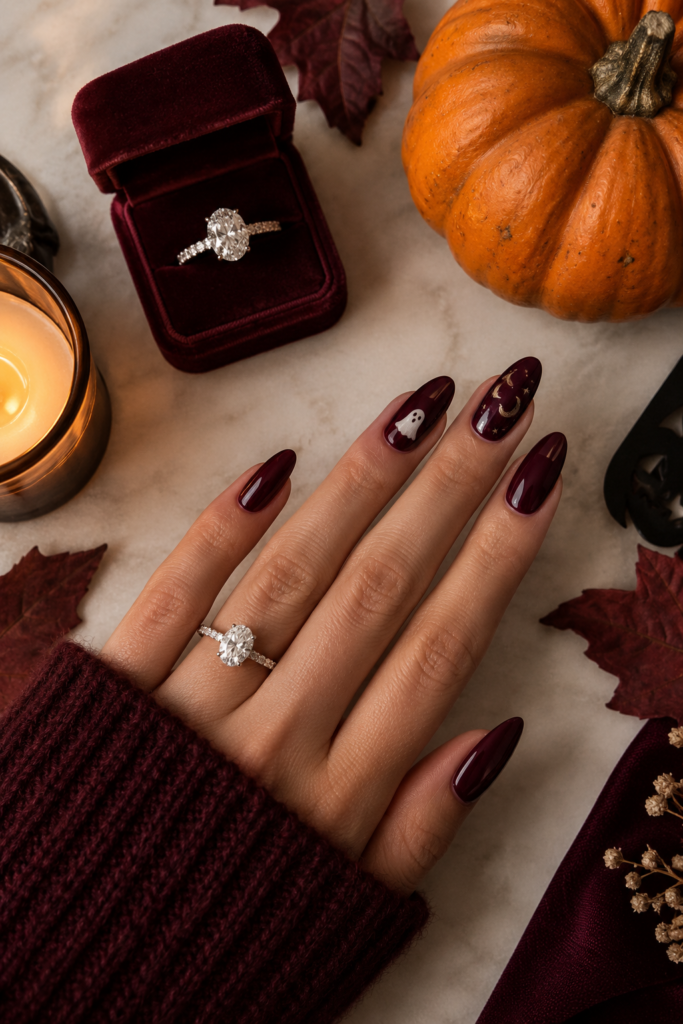
- Matte burgundy with fine gold cobweb line art
- Milky white base with one tiny bat silhouette
- Soft taupe with negative-space “moon phase” tips
- Sheer black glaze over nude — subtle and sultry
- Deep plum almond nails, no embellishment at all
- Champagne nails with a single rhinestone “star”
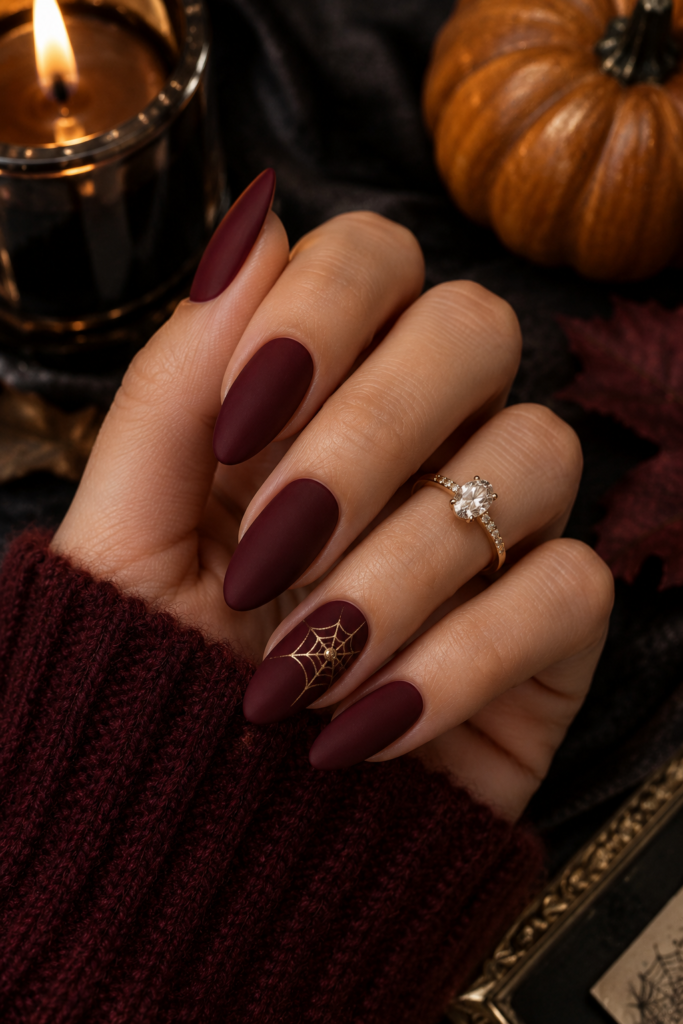
This is the group I recommend if you’re worried about going “too Halloween” for your fiancé’s family dinner.
Bold Statement Halloween Nails
- Full black French tips
- Orange-to-black ombré
- Green glitter “witchy” accent nail
- Deep purple chrome finish
- Bat silhouettes on every nail
- Cobweb art across all ten fingers
- Jack-o’-lantern face on one accent nail
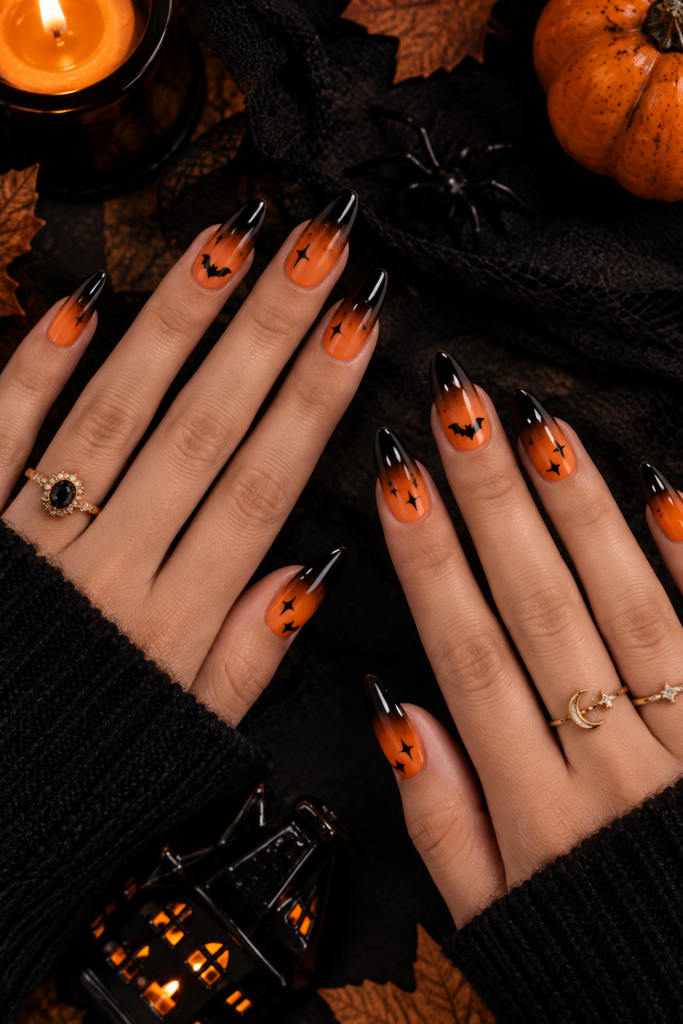
These are perfect for bachelorette weekends where nobody’s judging you for going big.
French Tip Halloween Twists
- Black French tips over a nude base
- Orange French tips with a thin gold line
- Double French — black tip, thin burgundy line beneath
- Reverse French with a deep green half-moon
- Glitter black French tips
- Cobweb-lined French tip on the ring finger only
- Classic French with one tiny rhinestone bat
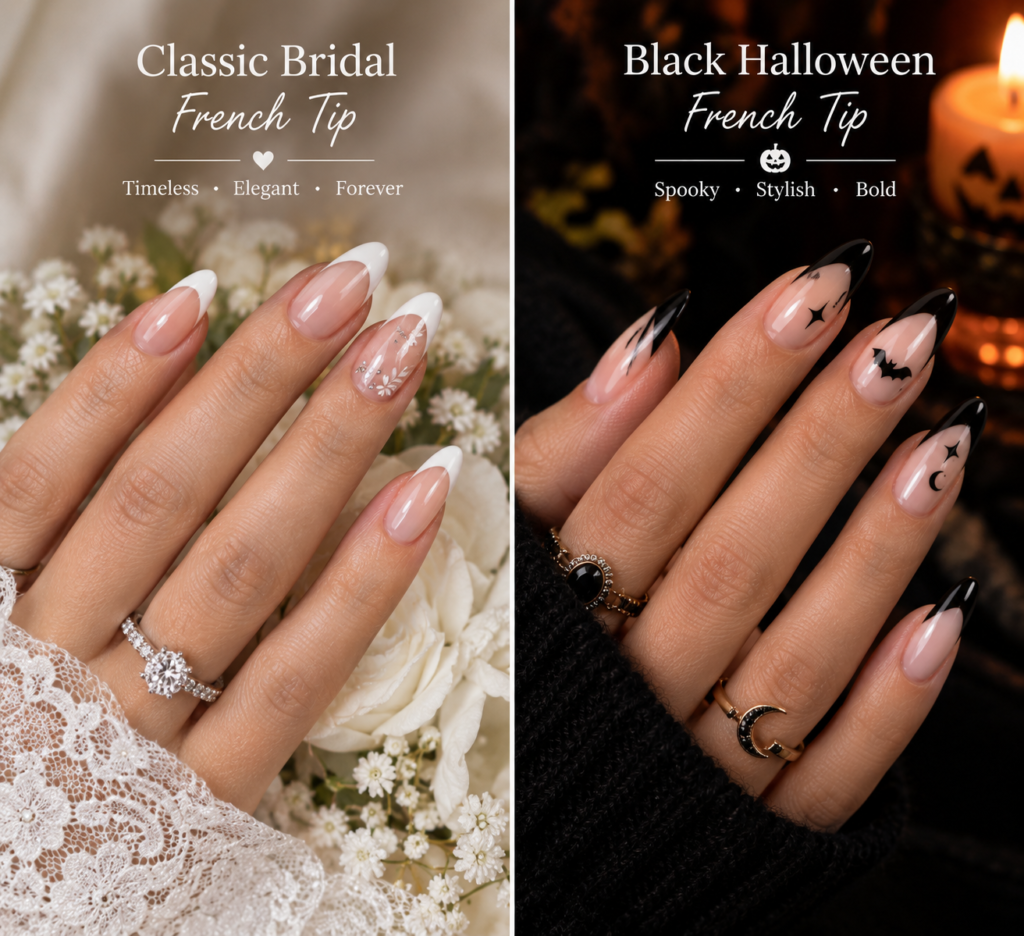
This is the sweet spot: French tips read “bridal” instantly, so adding black or orange keeps it seasonal without losing the elegance.
Step-by-Step — How to DIY Halloween Nails at Home
Prep Your Nails Right
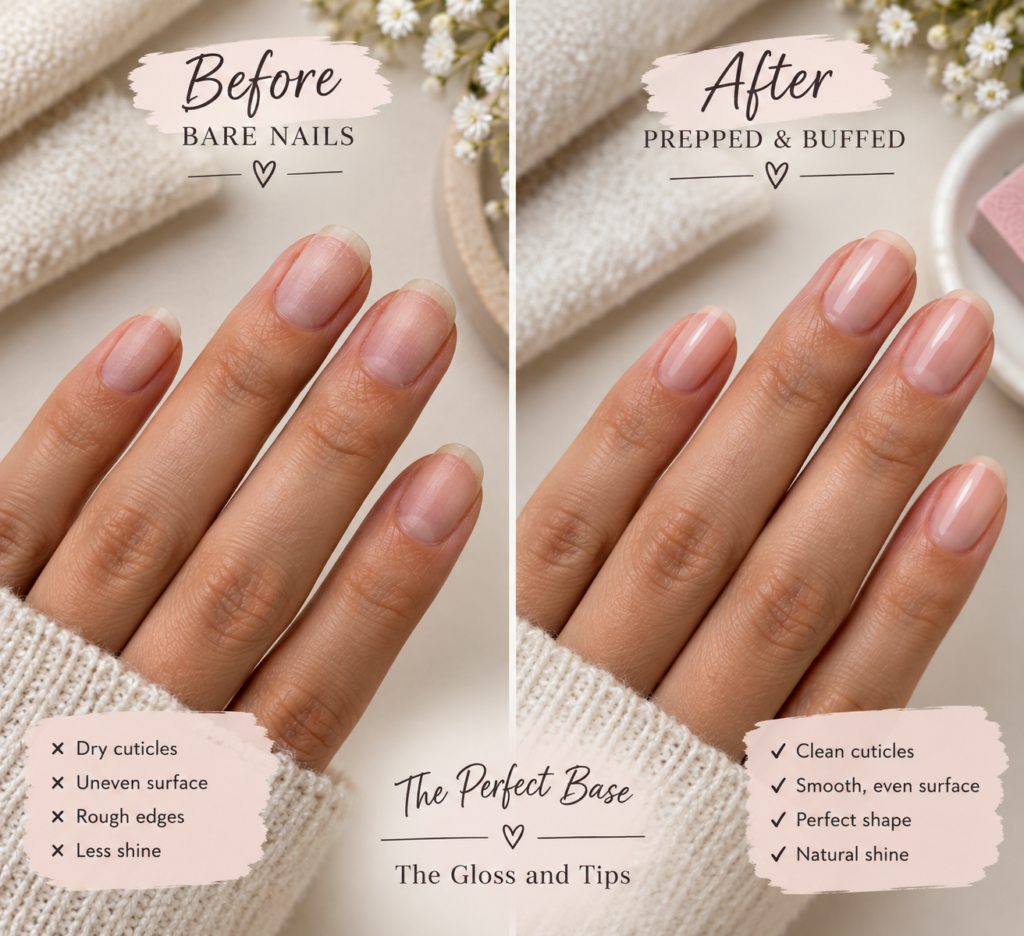
Push back your cuticles and buff the nail surface lightly. This one step is what separates a two-day mani from a two-week one.
Easy Application Techniques
Use two thin coats instead of one thick one — thin coats dry faster and chip less.
For cobweb art, dip a striping brush in white polish and drag it in a “V” shape from the base outward.
Dotting tools are your best friend for spiders, bats, and rhinestone placement. You genuinely cannot mess this up.
Sealing It So It Lasts
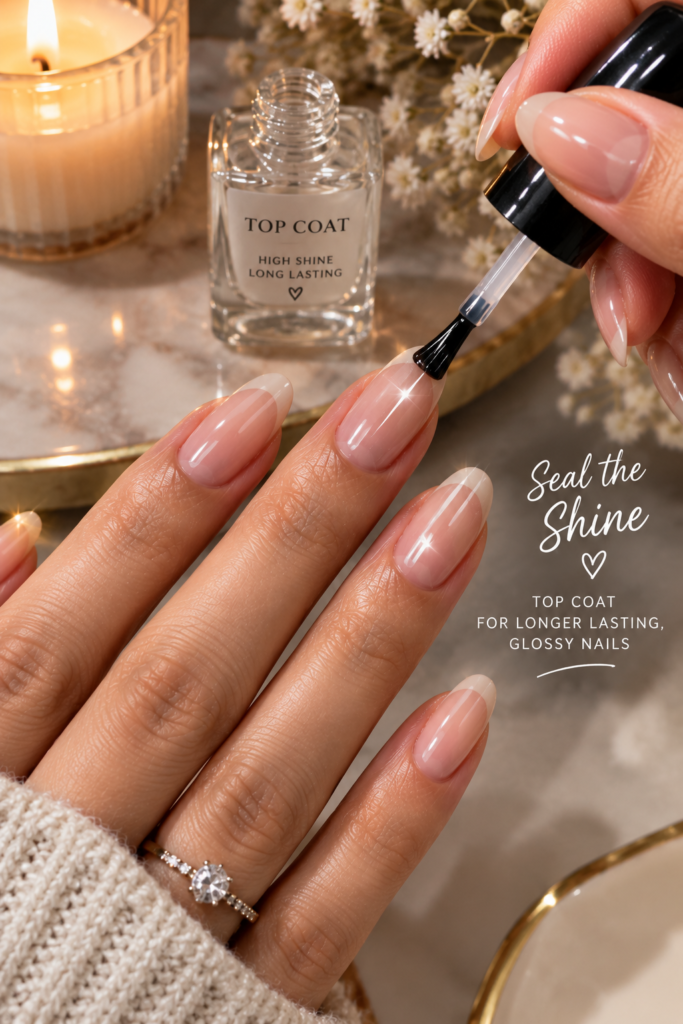
Always finish with a glossy or matte top coat, and swipe the tip of the nail too — this seals the edge and prevents peeling.
Matching Your Halloween Nails to Your Bridal Calendar
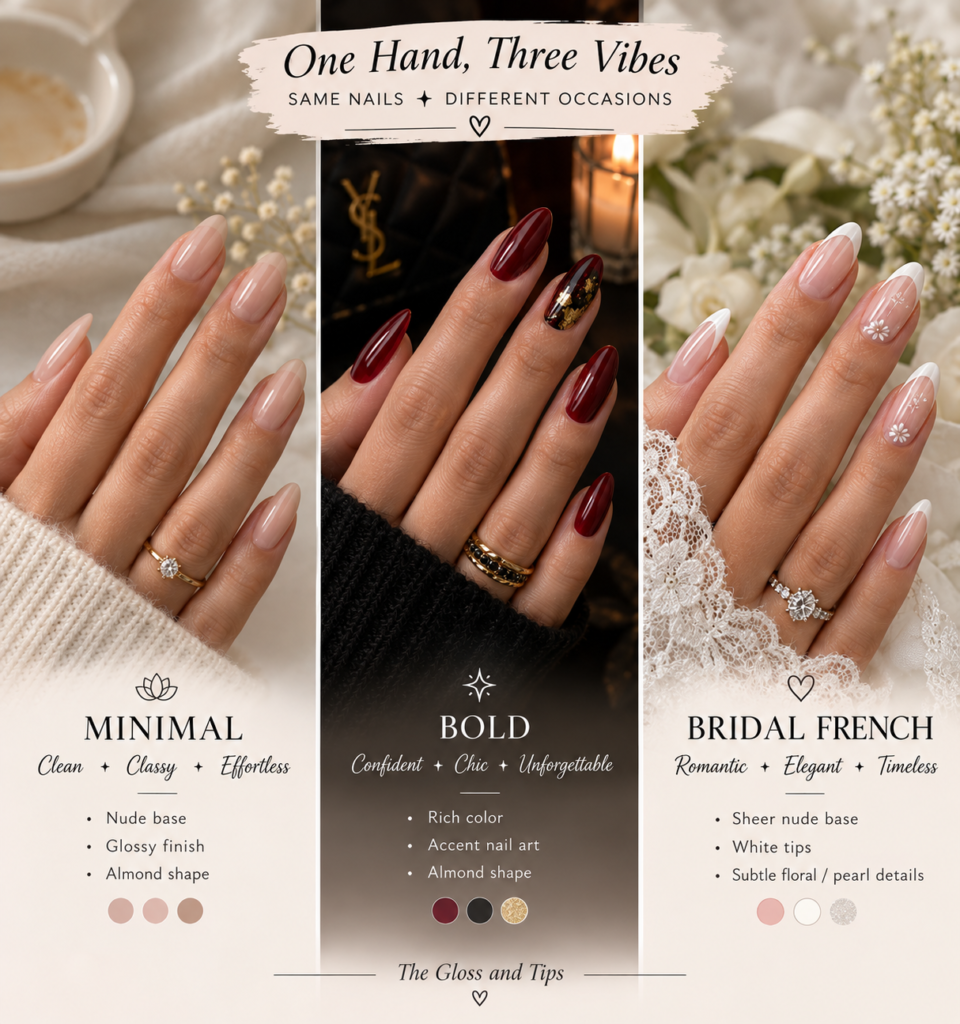
Engagement photos & save-the-dates: Go minimal — think option #2 or #5 above. You want your ring to be the star.
Bridal shower & bachelorette: This is your moment to go bold. Orange ombré, full cobweb art, glitter — have fun with it.
Wedding day (if you dare): Most brides stick classic, but a subtle black-tip French (#15) photographs beautifully and still whispers “October wedding.”
Common DIY Mistakes to Avoid
- Skipping prep work — polish won’t hold onto oily, unbuffed nails
- Overcomplicating the design — start with one accent nail before attempting all ten
- Using the wrong formula — regular polish chips faster than gel-hybrid, especially around a busy engagement season
Honestly? My biggest mistake early on was rushing the top coat. Give it the full dry time — patience is the whole game here.
FAQs
Will Halloween nails look weird in wedding photos?
Not if you keep them subtle. Minimal designs (nude with one accent nail) photograph beautifully and just read as “elegant fall nails.”
How long do DIY Halloween nails last?
With proper prep and a gel-hybrid formula, expect 7–10 days.
What’s the easiest design for a nail art beginner?
The single accent nail — do a classic bridal color on nine nails and one Halloween design on the tenth.
Can I do these over gel or acrylic extensions?
Yes! All of these designs work over any base — just make sure the surface is clean and free of oil first.
What if I mess up the design?
Wipe it off with a bit of polish remover on a small brush and start again — nobody will know.
Halloween nails and fall bridal season were basically made for each other. Whichever look you pick, snap a photo, tag us, and go show off that ring — spooky season never looked this good. 🖤🎃
You Might Also Like:
2026 Wedding Color Palettes: 12 Forecasted Combos by Season & Mood
One Comment